The art of contouring and highlighting | |
| |
Contouring and highlighting have revolutionized the world of makeup, allowing individuals to enhance their facial features and create a sculpted, radiant look. These techniques can transform the appearance of the face by accentuating its natural structure and adding dimension. In this article, we will delve into the art of contouring and highlighting, providing you with tips and tricks to master these transformative makeup techniques. 1. IntroductionContouring involves creating shadows and depth on specific areas of the face, while highlighting brings forward the high points and adds radiance. When done correctly, these techniques can create the illusion of a more defined jawline, higher cheekbones, a slimmer nose, and a glowing complexion. 2. Understanding Contouring and HighlightingContouring utilizes a matte product that is darker than your natural skin tone to create shadows and define certain areas of the face. On the other hand, highlighting involves using a product that is lighter than your skin tone to bring light and luminosity to specific features. 3. Choosing the Right ProductsWhen it comes to contouring and highlighting, choosing the right products is crucial. Opt for cream or powder formulations that blend seamlessly with your skin. For contouring, select a shade that is about two shades darker than your natural skin tone. For highlighting, choose a shade that is about two shades lighter. 4. Tools for Contouring and HighlightingThe right tools can make a significant difference in achieving a flawless contour and highlight. Some essential tools include:
5. The Contouring ProcessTo contour your face:
6. The Highlighting ProcessTo highlight your face:
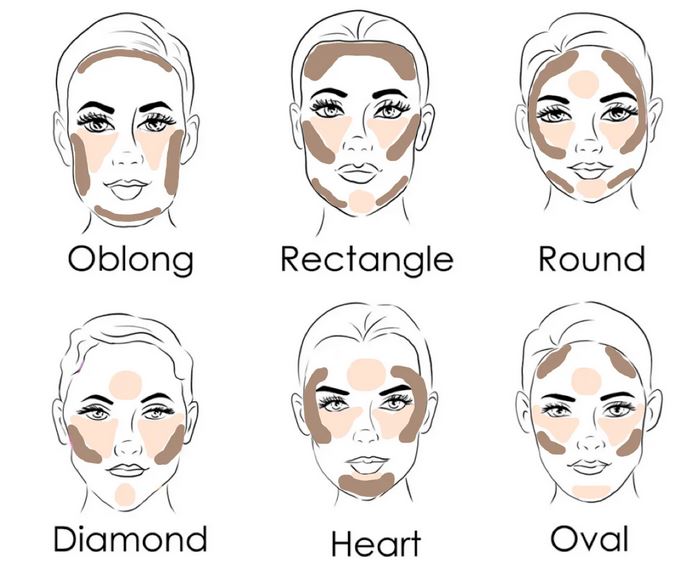
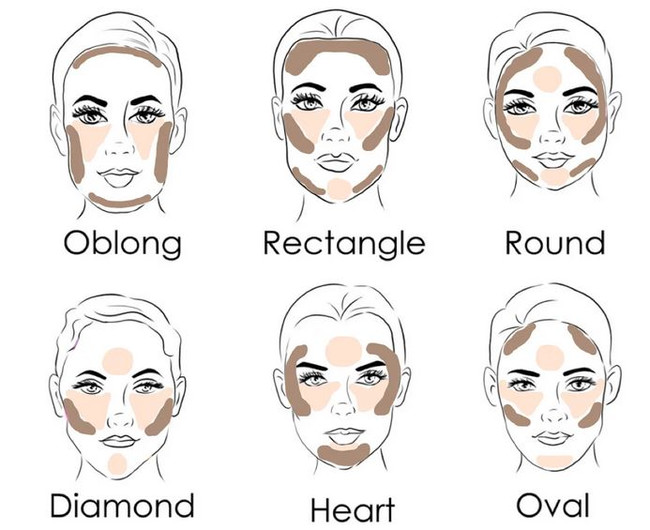
7. Blending and BlurringBlending is the key to achieving a natural-looking contour and highlight. Take the time to blend the products thoroughly, ensuring there are no visible lines or harsh edges. Use a beauty sponge or a clean brush to soften and blur any harsh lines, creating a seamless transition between the contoured and highlighted areas. 8. Contouring and Highlighting for Different Face ShapesDifferent face shapes require specific contouring and highlighting techniques to accentuate or soften certain features. Here are some tips for common face shapes:
9. Contouring and Highlighting for Day and Night LooksFor a daytime look, opt for a more subtle and natural contour and highlight. Use lighter shades and focus on enhancing your features subtly. For an evening or special occasion look, you can intensify the contour and highlight by using deeper shades and applying more product for a bolder effect. 10. ConclusionContouring and highlighting are powerful makeup techniques that can transform your face and elevate your overall look. With the right products, tools, and techniques, you can sculpt your features, add radiance, and achieve a flawless, professional finish. Remember to practice and experiment to find the perfect balance that enhances your natural beauty. FAQs1. Can contouring and highlighting be done with powder products only? Yes, contouring and highlighting can be achieved with both cream and powder products. The choice depends on personal preference and skin type. 2. Can I contour and highlight if I have mature skin? Absolutely! Contouring and highlighting can be tailored for all ages and skin types. Just remember to choose products and techniques that flatter and enhance your unique features. 3. How do I prevent my contour and highlight from looking too harsh? Blending is the key. Take your time to blend and soften the products to achieve a seamless and natural result. Build the color gradually and adjust as needed. 4. Can I contour and highlight my body as well? Yes, contouring and highlighting can be applied to other areas of the body, such as the collarbones, shoulders, and legs, to create a more sculpted and radiant appearance. 5. Is contouring and highlighting suitable for everyday makeup? Contouring and highlighting can be adjusted for everyday wear. Opt for a more subtle application using lighter shades for a natural and effortless look. So there you have it—the art of contouring and highlighting. With practice, patience, and the right techniques, you can achieve a beautifully sculpted face and a luminous glow. Embrace your creativity, have fun experimenting, and enjoy the transformative power of these makeup techniques. | |
| Category: Makeup | |
| Total comments: 0 | |
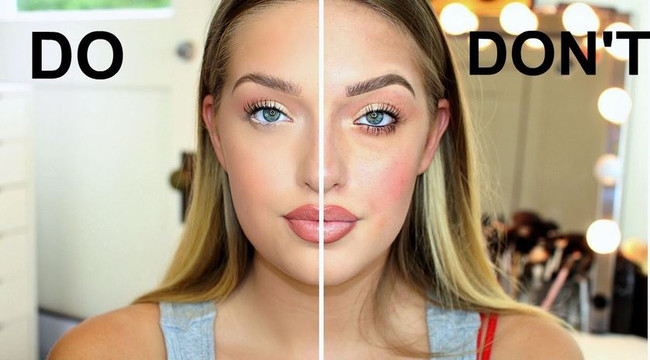 |
| The Dos and Don'ts of Makeup Application |
 |
| Healthy eating habits for a balanced lifestyle |
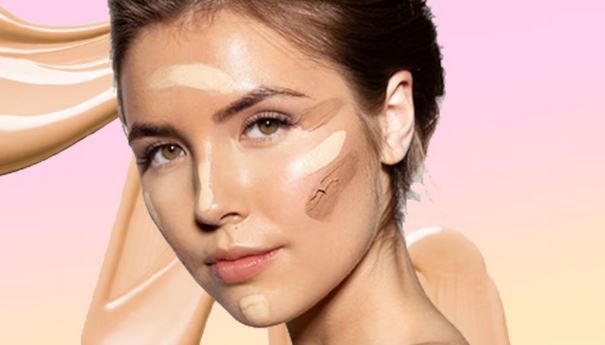 |
| How to Choose the Right Foundation for Your Skin Type |
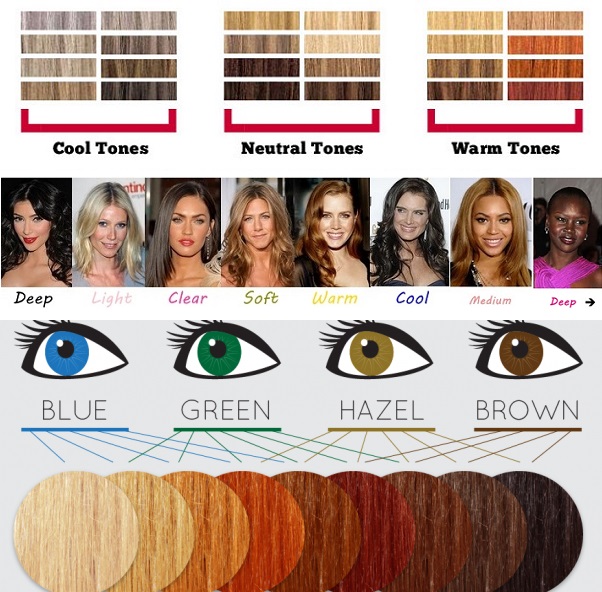 |
| Tips for Choosing the Right Hair Color for Your Skin Tone |
 |
| The importance of a good night's sleep and tips for better sleep hygiene |
 |
| The art of contouring and highlighting |
 |
| The Best Essential Oils for Hair Growth and Scalp Health |
 |
| The Best Hair Masks for Deep Conditioning and Repair |
 |
| A guide to dressing for special occasions |
