Mastering the Winged Eyeliner: A Comprehensive Tutorial | |
| |
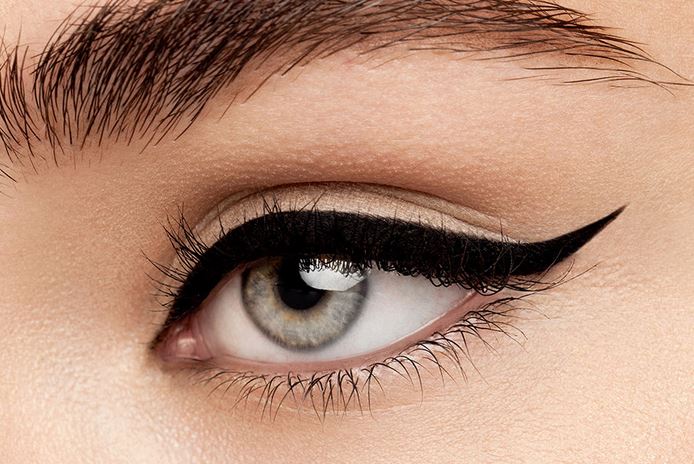
The winged eyeliner, also known as the cat eye, is a classic makeup look that adds drama and allure to the eyes. While creating the perfect winged liner may seem daunting, with practice and the right techniques, you can master this eye-catching look. In this comprehensive tutorial, we will guide you step-by-step through the process of achieving a flawless winged eyeliner, helping you create a stunning and precise cat eye every time. Understanding the Winged EyelinerThe winged eyeliner involves extending the eyeliner past the outer corner of the eye in a wing-like shape. This elongated flick can be subtle and soft or bold and dramatic, depending on personal preference. The winged eyeliner can enhance the shape of the eyes, create the illusion of lifted eyes, and add a touch of glamour to any makeup look. Now, let's dive into the step-by-step tutorial for mastering the winged eyeliner. Step 1: Gather Your ToolsBefore you start creating your winged eyeliner, gather the following tools:
Step 2: Prepare Your EyesPrepping your eyes is essential for a flawless winged eyeliner application:
Step 3: Create the WingNow it's time to create the winged shape:
Step 4: Line the Upper Lash LineWith the wing in place, it's time to line the upper lash line:
Step 5: Connect the Wing and Lash LineTo complete the winged eyeliner look, connect the wing and lash line:
Step 6: Clean Up and RefineAfter connecting the wing and lash line, clean up any mistakes and refine the shape:
Frequently Asked Questions (FAQs)Q: Which type of eyeliner is best for creating a winged look?Liquid or gel eyeliners with a fine, pointed tip are best for creating a precise winged eyeliner look. The thin brush or applicator allows for greater control and precision during application. Q: How do I choose the right angle and length for the wing?The angle and length of the wing depend on personal preference and eye shape. Experiment with different angles and lengths to find what suits you best. As a general guideline, aim for a wing that follows the natural upward extension of your lower lash line. Q: How can I make my winged eyeliner symmetrical on both eyes?Creating symmetrical wings can be challenging. Start by mapping out the wing on one eye, then match it on the other eye by using the first wing as a reference. Make small adjustments as needed to achieve symmetry. Q: Can I achieve a winged eyeliner look with pencil eyeliner?While pencil eyeliners can be used to create a softer winged look, they may not provide the same level of precision and longevity as liquid or gel eyeliners. For a more defined and long-lasting wing, opt for a liquid or gel eyeliner. Q: How do I fix a crooked winged eyeliner?If you find that your winged eyeliner is crooked, use a cotton swab or Q-tip dipped in makeup remover to carefully remove and adjust the shape. Clean up any mistakes and refine the wing until it appears straight and symmetrical. Q: How can I make my winged eyeliner last longer?To make your winged eyeliner last longer, start with a clean and primed eyelid. Set the eyeliner with a matching eyeshadow to prevent smudging. Additionally, consider using a long-wearing or waterproof eyeliner formula for extended wear. ConclusionMastering the winged eyeliner takes practice, but with the right techniques and tools, you can achieve a flawless and captivating cat eye look. By following this comprehensive tutorial, you'll be able to create precise wings that enhance your eyes and elevate your makeup. Remember to take your time, use guidelines for a clean shape, and refine the wing as needed. With persistence and practice, you'll become an expert in creating the perfect winged eyeliner look. | |
| Category: Makeup | |
| Total comments: 0 | |
 |
| DIY natural beauty remedies from your kitchen |
 |
| The benefits of practicing gratitude daily |
 |
| The Importance of Deep Conditioning Treatments for Hair Repair |
 |
| The ultimate guide to accessorizing your outfits |
 |
| The Best Makeup Looks for Different Face Shapes |
 |
| Tips for Choosing the Right Hair Color for Your Skin Tone |
 |
| The Impact of Technology on Our Mental and Physical Health: Finding Balance in a Digital Age |
 |
| Tips for creating a stylish and functional wardrobe for work |
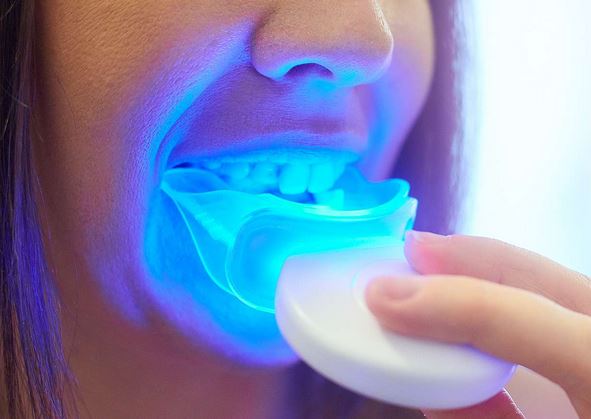 |
| How to choose Teeth Whitening Kits |
